Contributor guidelines
Welcome!
Are you a great student or teacher? Are you ready to start earning money by helping others learn? It's easier than you think to begin, and this step-by-step guide to becoming a OneClass contributor will get you started.
Ways to contribute
Currently, there are two different ways to make money as a contributor on OneClass: answering questions and uploading documents.
In both cases, you can earn 20% of the recurring income for each student that signs up for a OneClass membership because of your work. Read our Revenue Sharing Program featured blog for more information. In the following sections, we will discuss how to earn more by answering questions on OneClass, best practices, and some dos and don’ts.
Academic integrity
Before you start contributing at OneClass, read our Academic Integrity Policy. The Academic Integrity Policy is designed to make integrity and honesty central to the OneClass customer experience. It is important to highlight that we will not tolerate, in any way, students or members of the company found in violation of this policy.
Finding questions to answer
The OneClass website is easy to navigate! Once you have logged in you will see the top three most common actions on your dashboard:

Clicking on ANSWER QUESTIONS will redirect you to the list of available questions in the subjects you are following. You can see your subjects at the left panel followed by the number of questions within each of the subjects and selecting one of these will apply a filter to the list.
To read a question that is not fully displayed in the preview or in the list of questions you can click on it. Clicking on a question does not imply that you will answer it but it allows you to read the entire statement and download any attachments if any.
How to write answers
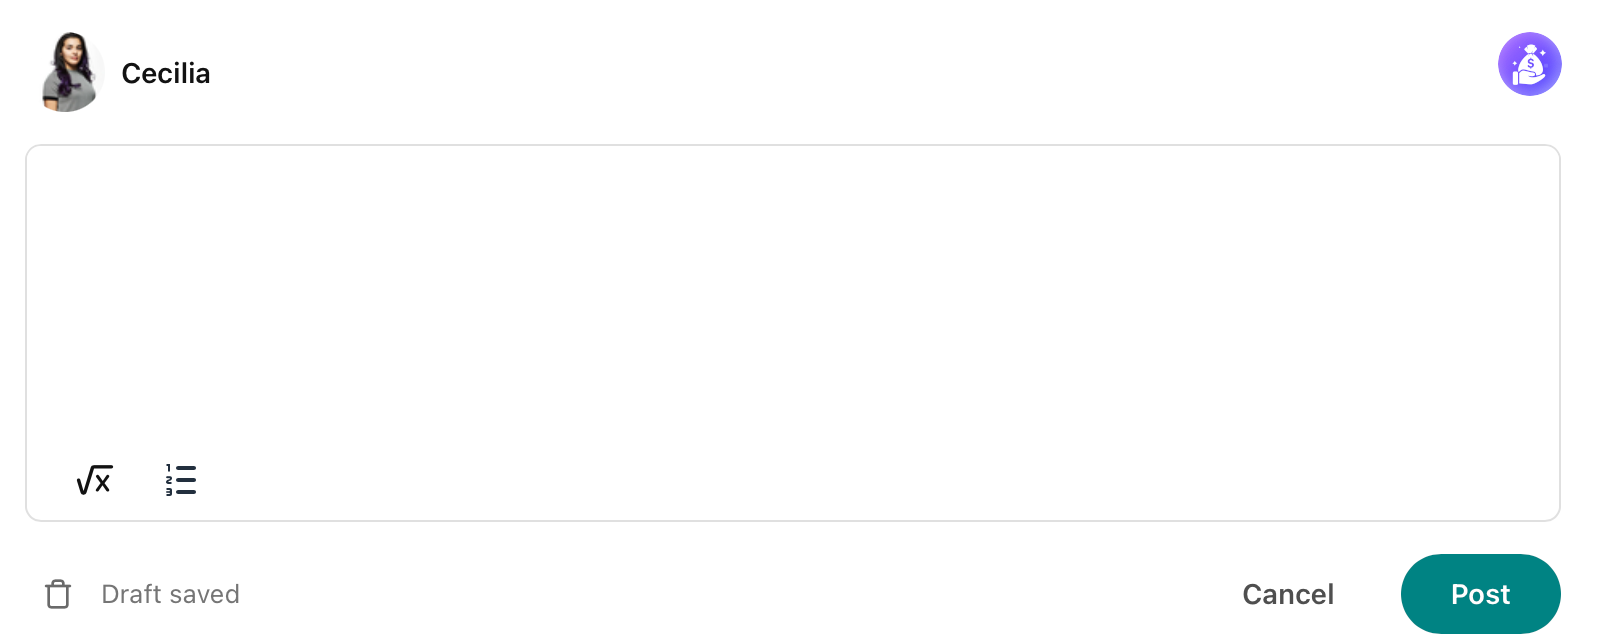
Once you have identified a question to answer, click on the ANSWER button to start. Use the answer text box to type your answer, to include formulas use the formula editor by clicking on the bottom left button:
Be clear about the process, steps, formulas and final result of your answers. We recommend you to use this layout:
Given information
Established what is to be found/Variables to calculate
Calculation/Explanation
Conclusion/Final result
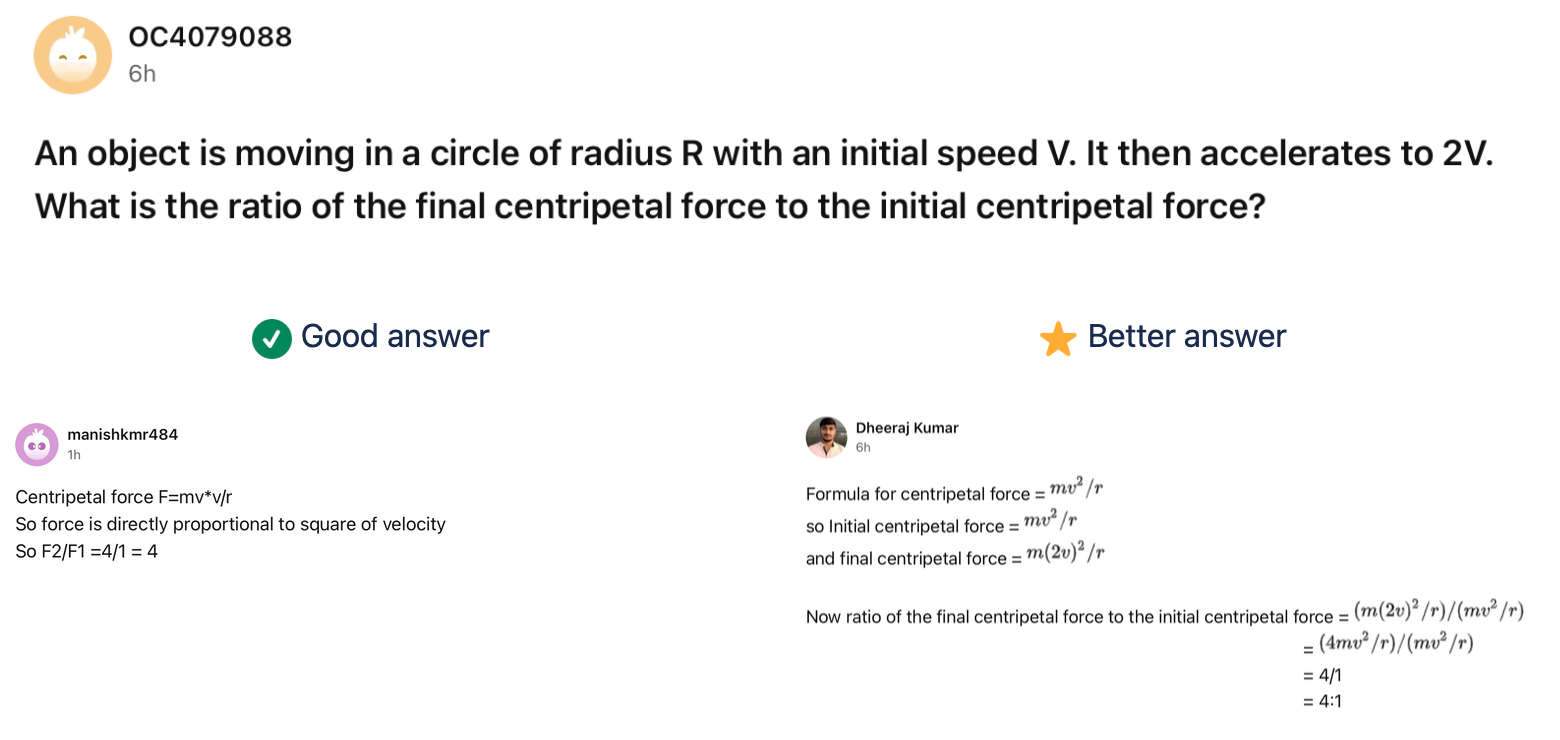
It is understandable that each question is different and some steps from above might not be necessary but always try to walk the student through the solution and explain what has been done to get the final result. Explain any assumptions being made. Make sure that you provide detailed documentation, leaving no chance for error or miscommunication for the students. Remember that not everyone may be able to connect the dots between two steps like you do.
Take a look at this question and two answers provided by different contributors:
Always make sure that you double-check your answers before clicking on POST. Lastly, installing Grammarly or similar software on your computer can help you be more confident in tackling grammatical or spelling errors.
What not to do
Avoid these mistakes to keep all of your answers published and get more likes from students.
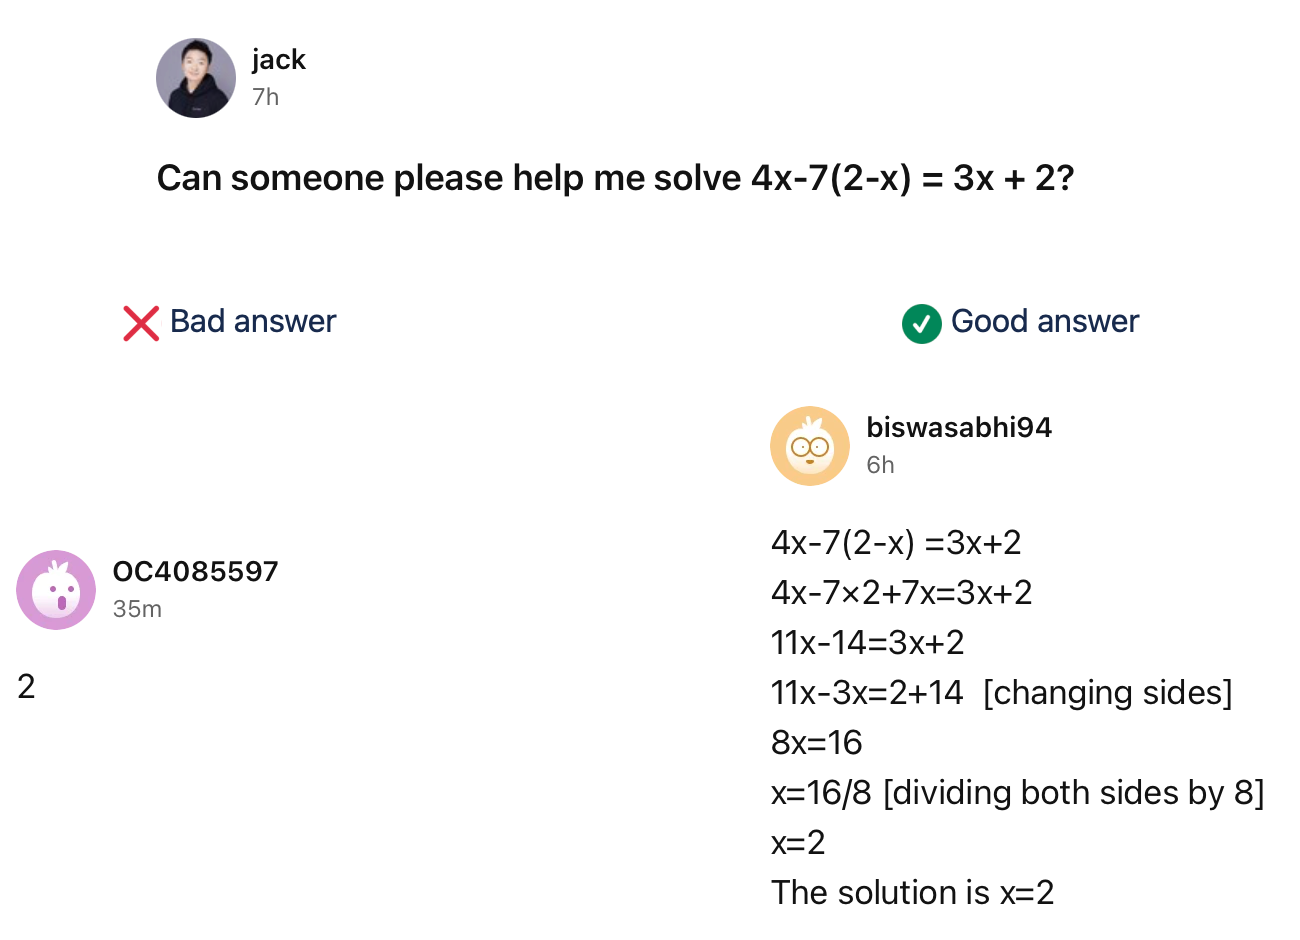
1. Do not give just the final solution to a problem:
2. Do not insert any hyperlinks in the answer. Try to provide all the relevant information in the answer instead of redirecting the students elsewhere. Hyperlinks will not render properly and may also prevent your answer from being published, impacting your potential earnings.
3. Do not insert HTML code in the answer.
4. Do not spam. Solutions that are perceived as spam or nonsensical will be rejected and not published. Examples include (but are not limited to):
Plagiarized content from other sources - i.e., text that is copy-pasted from other copyrighted websites or sources.
Text that is irrelevant in the context of the question being answered.
Text that does not give a final solution to the question asked.
A series of characters that have no meaning.
Answers in languages other than English.
Answers posted more than once. This includes creating multiple accounts to answer a question more than once.
Answers to questions that do not belong to any of the OneClass subjects.
Unacceptable behavior
Refrain from using foul language, offensive words, or comments directed to specific groups. We will not tolerate, in any way, students or members of the company engaging in any practices that may be considered abusive or that make use of abusive language.
Some examples of unacceptable behavior are the use of language that is considered:
Lewd language. The system has a blacklist of words that cannot be used in the answer because of their intimate or lewd nature.
Hateful language. We have a zero-tolerance policy for threats, incitement to violence, doxing, or other overt displays of hate against a specific group.
Politically incorrect language. At OneClass we are tolerant of opinions, even if they are not well accepted by society.
The promotion of conspiracy theories or theories not backed by the most abundant/rigorous amount of scientific backing will be limited. Some examples of this are:
Flat earth theory.
QANon.
Critical race theory.
How to upload documents
Another way to contribute is to upload documents that help our users study at their own pace. We review each document before it’s published to ensure it goes according to our guidelines.
Choose your school
Before you start, make sure the right university is linked to your profile. You can verify this by clicking on your profile photo at the top right corner of the home page. The name of your university will be visible below your name:
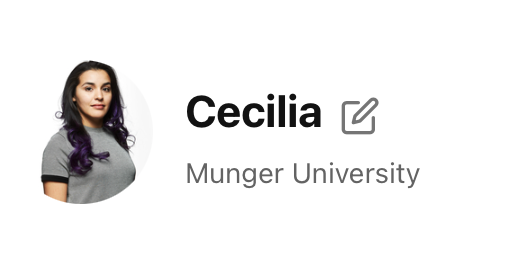
If this information is incorrect or if you wish to change schools, choose the correct university by clicking on the settings button at the top right corner of the page and then:
Account settings > Personal info > School > Edit.

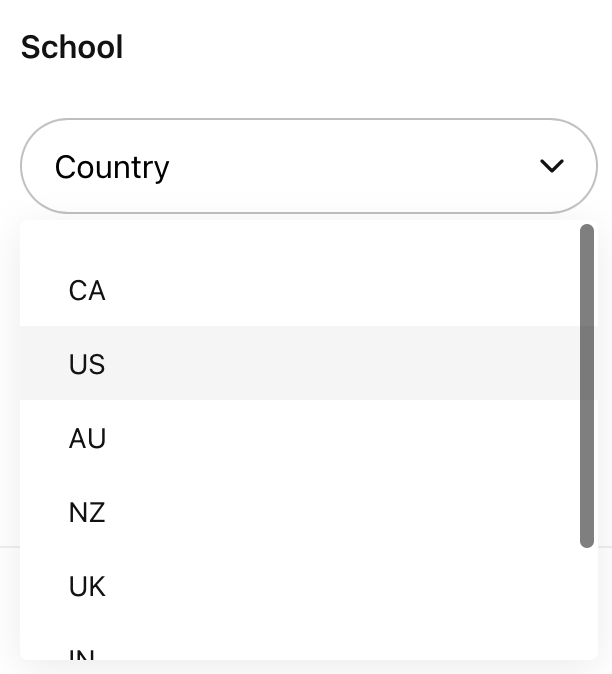
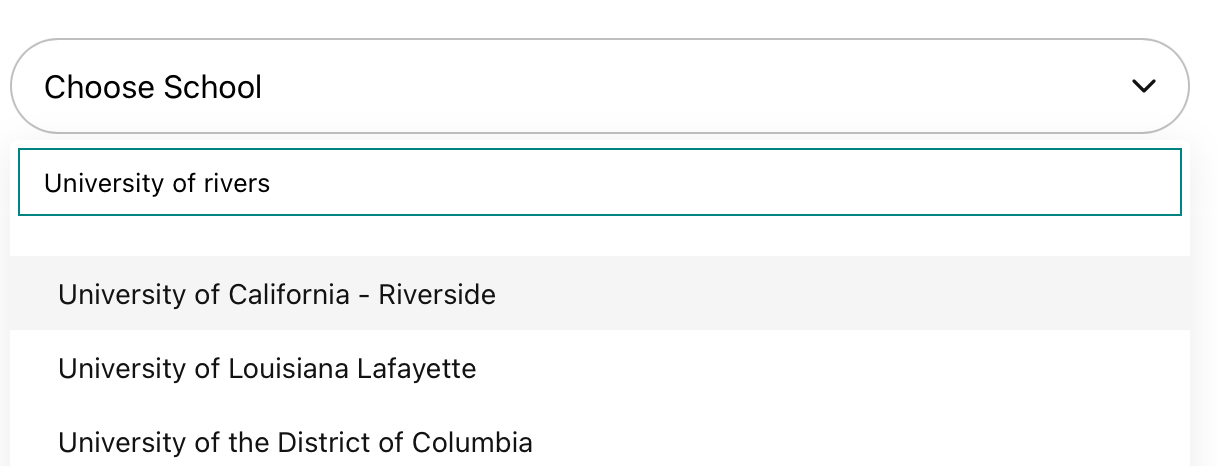
There you will see a list of available countries and their respective universities. Select yours, click Save and you are all done.
Select the files
To select the files you want to upload, click on UPLOAD DOCUMENTS:
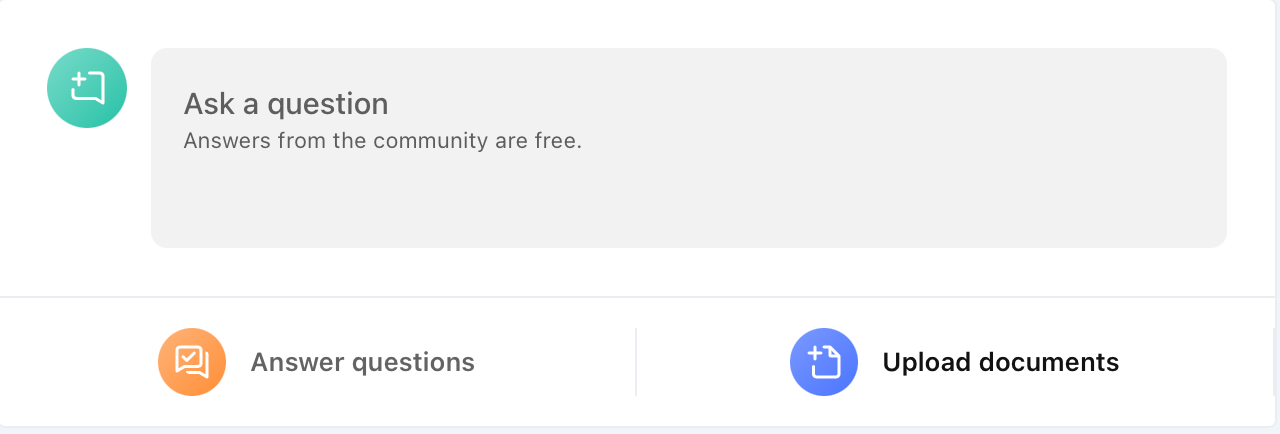
Once on the uploading page, there are two ways to upload files:
- Select the course and the type of documents. This mode allows you to upload multiple files for the same course at one time.
- Select the documents to be uploaded. This mode allows you to upload multiple without defining the course they belong to and what type they are. After uploading the files, you must individually select the course and the document type for each of the files.
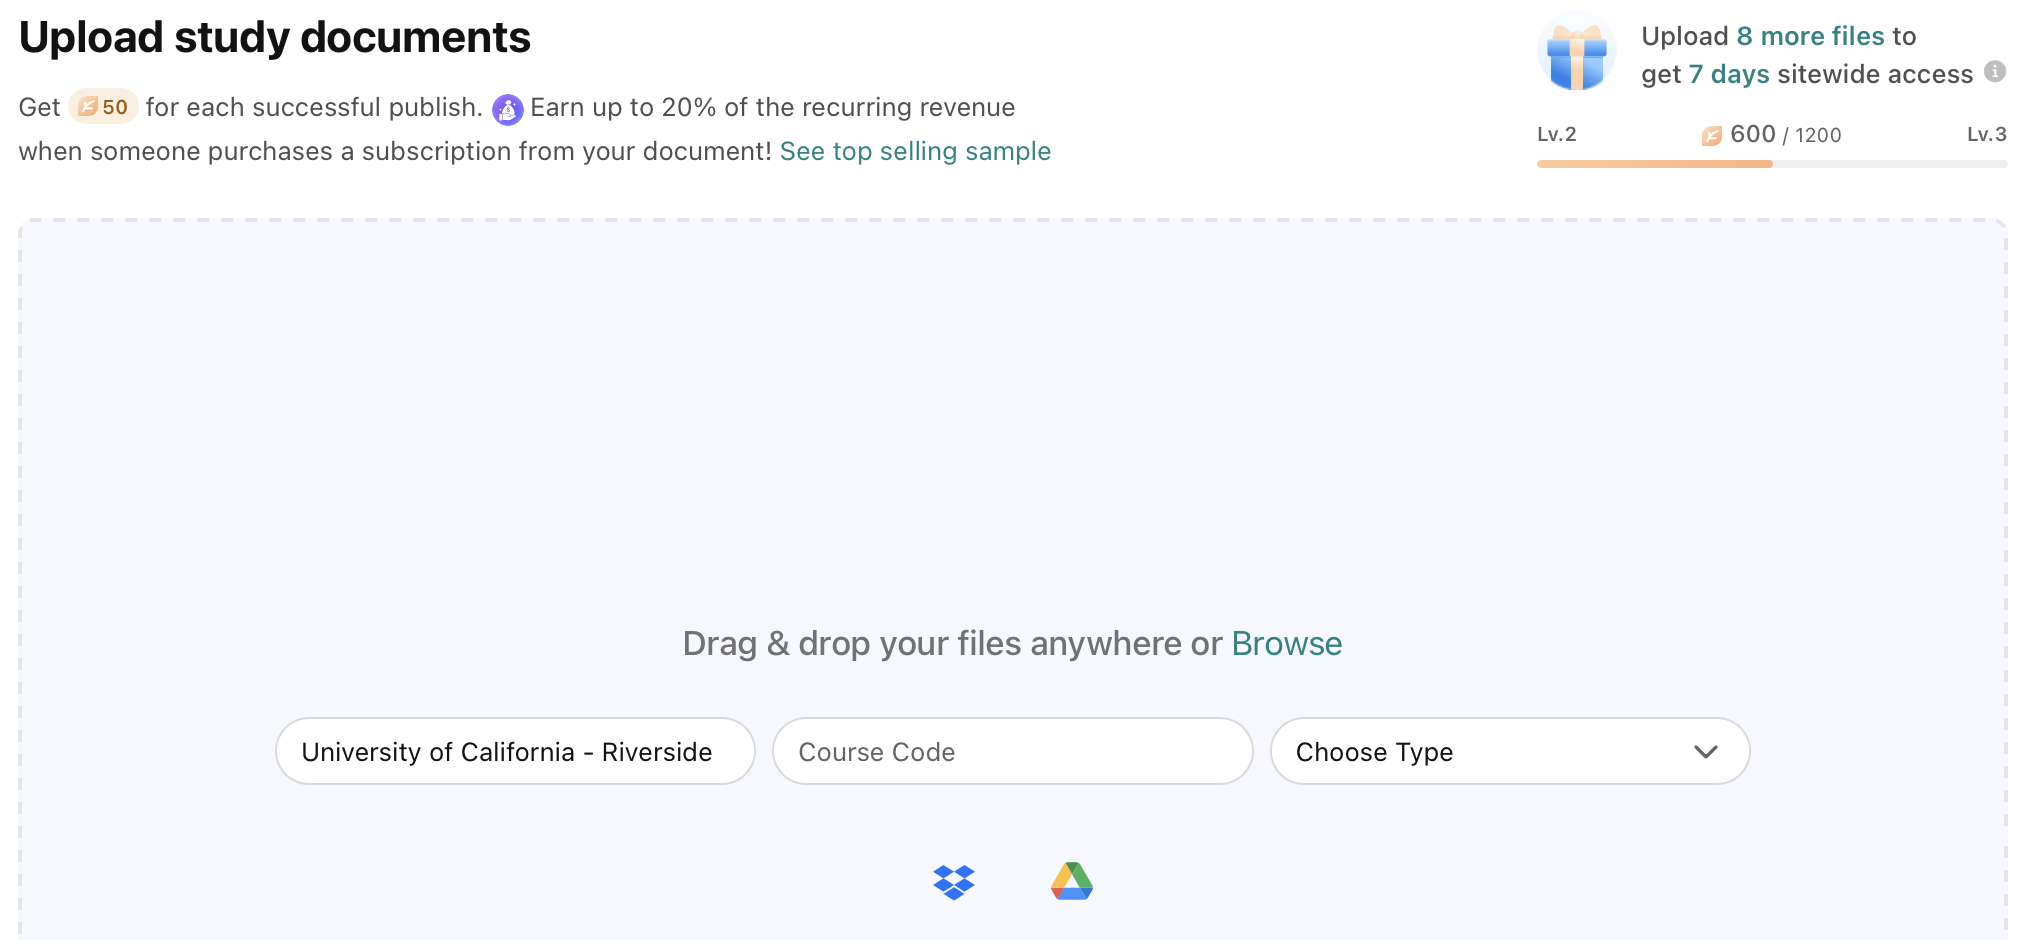
A. Select the course and the type of documents
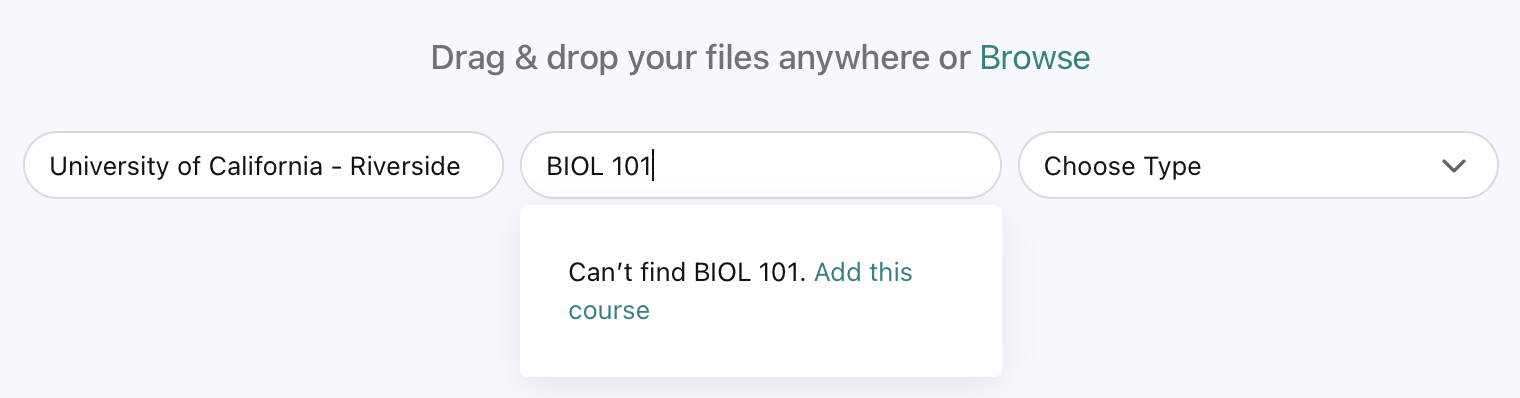
Use this option if you want to upload multiple files that belong to the same course. The steps to follow are:
-
Type the course code and select from the drop list.
- If the course code cannot be found, select Add this course.
-
Choose the type of files you want to upload, we only accept:
- Class note
- Textbook note
- Study guide
- Past exam
- Syllabus
- To upload the files, you can drag and drop, use Google Drive or Dropbox.
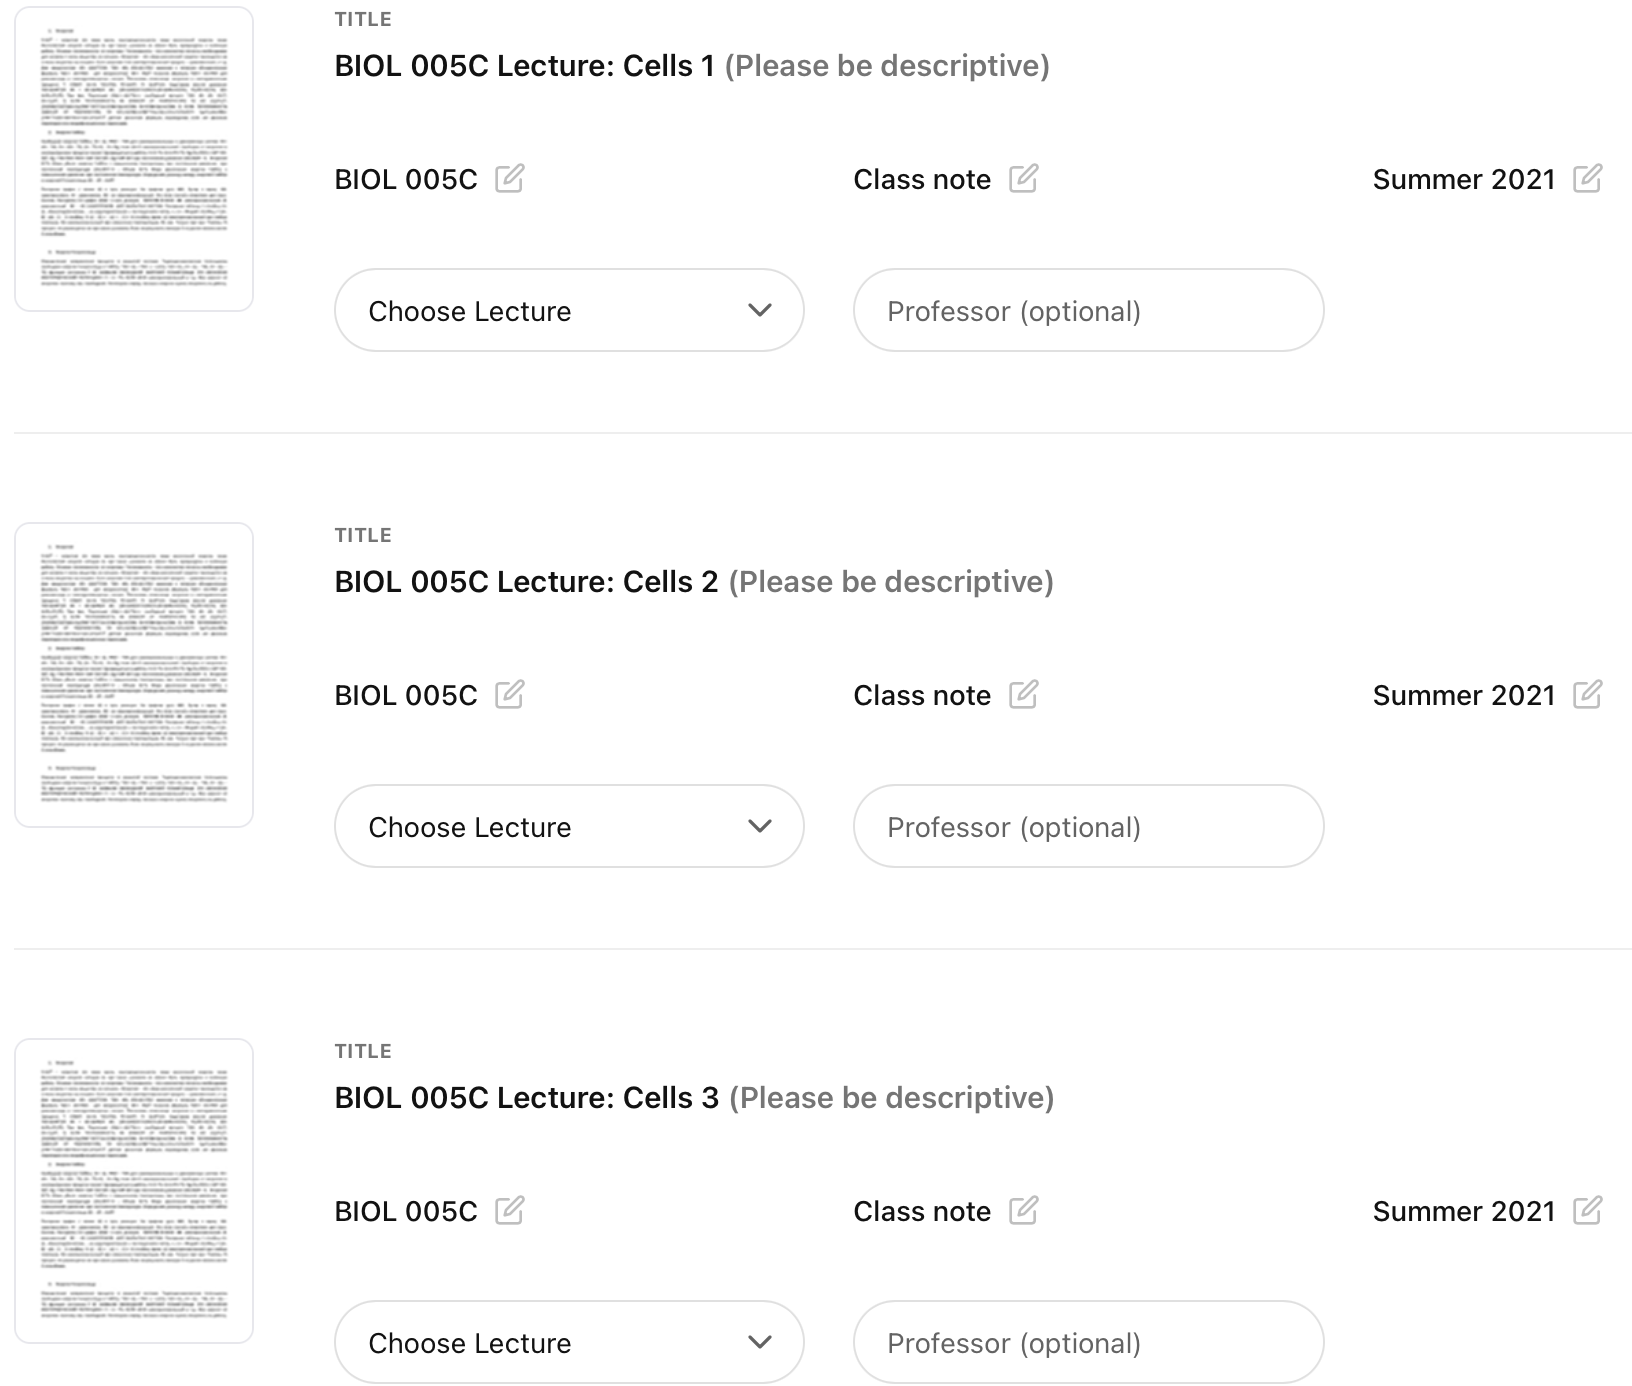
- You should see a thumbnail of the selected files along with information to the right of each file.
-
Specify any additional information needed. This can vary from document types:
- Class note. Make sure the file name matches the Lecture title or edit it to match, add a description of the contents, indicate the date of the course, select the Lecture number from the drop list and type the Professor's name.
- Textbook note. Make sure the file name matches the Chapter title or edit it to match, indicate the date, select the Chapter number from the drop list and type the Professor's name.
- Study guide. Make sure the file name matches the Test title or edit it to match, indicate the date, select the test type from the drop list (Quiz, Midterm and Final only) and type the Professor's name.
- Past exam. Make sure the file name matches the Exam title or edit it to match, indicate the date, select the exam type from the drop list (Midterm and Final only) and type the Professor's name.
- Syllabus. Make sure the file name matches the Syllabus title or edit it to match, indicate the date and type the Professor's name.
- If after selecting the files you want to change the course code or the file type, click on the Edit icon 📝. Everything can be updated, there is no need to start from the beginning!
- Click Publish documents at the bottom of the page.

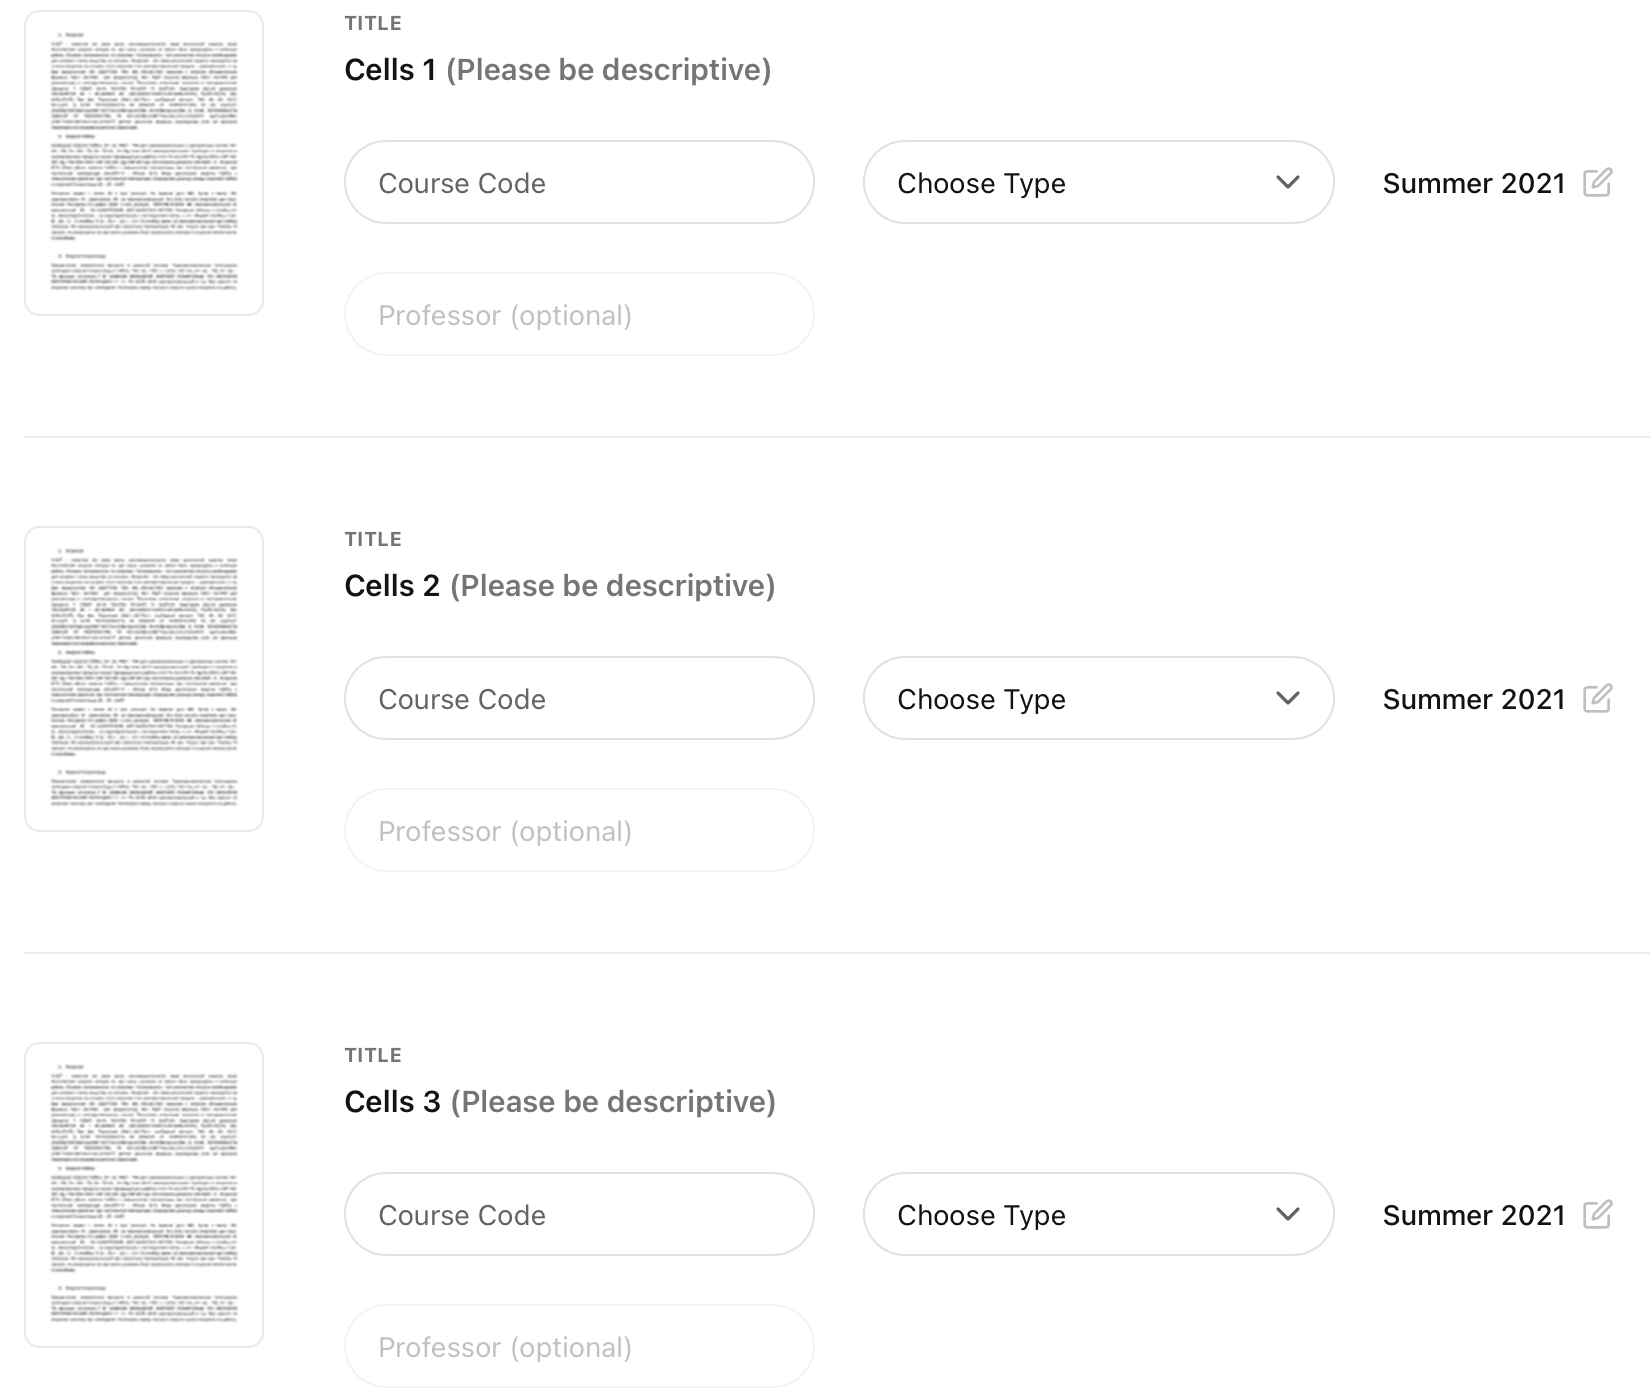
B. Select the documents to be uploaded
- To upload the files, you can drag and drop, use Google Drive or Dropbox.
- You should see a thumbnail of the selected files along with blanks to fill in the information to the right of each file.
-
Specify all the information for each file. This can vary from document types:
- Class note. Type the course code and select it from the drop list, if the course code cannot be found, select Add this course. Select Class note and the Lecture number from the drop lists. Make sure the file name matches the Lecture title or edit it to match, add a description of the contents, indicate the date of the course and type the Professor's name.
- Textbook note. Type the course code and select it from the drop list, if the course code cannot be found, select Add this course. Select Textbook note from the drop list. Make sure the file name matches the Chapter title or edit it to match, indicate the date, the Chapter number and the Professor's name.
- Study guide. Type the course code and select it from the drop list, if the course code cannot be found, select Add this course. Select Study guide and the test type (Quiz, Midterm and Final only) from the drop lists. Make sure the file name matches the Test title or edit it to match, indicate the date and the Professor's name.
- Past exam. Type the course code and select it from the drop list, if the course code cannot be found, select Add this course. Select Past exam and the exam type (Quiz, Midterm and Final only) from the drop lists. Make sure the file name matches the Exam title or edit it to match, indicate the date and the Professor's name.
- Syllabus. Type the course code and select it from the drop list, if the course code cannot be found, select Add this course. Select Syllabus. Make sure the file name matches the Syllabus title or edit it to match, indicate the date and the Professor's name.
- If after filling the files' information you want to make changes, click on the Edit icon 📝. Everything can be updated, there is no need to start from the beginning!
-
Click Publish documents at the bottom of the page.
Approval
Once you uploaded your documents and they are approved, they will be available to the OneClass community under three different categories:
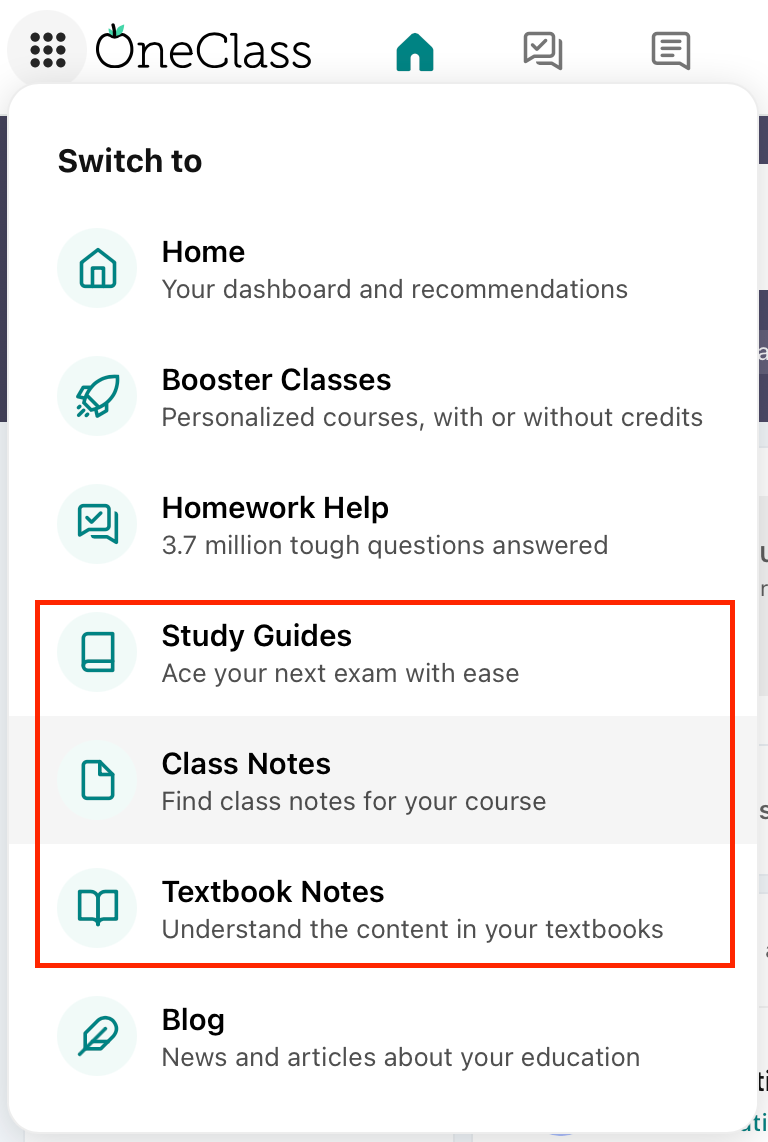
Examples of documents that can be uploaded are:
College notes even if you are no longer a student!
Notes should completely explain a concept or a chapter and handwritten ones should be completely legible.Textbook notes.
Study guides.
Examples of documents that cannot be uploaded are:
Powerpoint slides.
Assignment questions.
Textbooks and e-textbooks.
Published articles or journals.
Essays.
Copyrighted material.
Duplicate or plagiarized documents.
Single-page documents with little or no information.
One set of notes in separate documents.